Other blog entries by my colleagues talked about WSL, you can check them:
- https://www.fourco.nl/blogs/installing-windows-subsystem-for-linux-2-wsl2-on-windows-10/
- https://www.fourco.nl/blogs/access-to-wsl-filesystem-in-explorer/
Here I would like to address something I’m very used to. I duplicate the distributions to keep environments clean, test, or handle different customers without the fear of meshing up.
Multiple environments
I like to keep my environments as clean as possible, so I try not to mix things up. Below, is an example of the distros I have currently on my laptop.
wsl -l
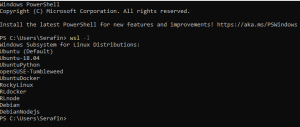
As for those “strange” entries: RockyLinux, RLdocker, RLnode; let’s talk about them in a different blog entry as they require an extensive explanation as they are not able to be installed from the official channel but follow an alternative path.
Default Available Distributions
As a reminder, you can check the distributions available online via:
wsl -l --online
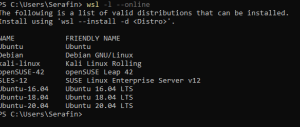
Then, install the one of your choice as mentioned at the command output:
wsl --install -d <Distro>
For the purpose of this blog, we are assuming that you installed the Debian distribution.
So now, you can log into Debian and keep your distro updated with the latest versions
> wsl -d Debian
$ sudo apt-get update
$ sudo apt-get upgrade
$ node -v
-bash: node: command not found
$ hostname
SAB-ThinkPadE14
Now we have the base distro ready and can continue with the process.
Duplication
Now are going to export this current distro into a tar file that can be later imported into a “new” distro, having in this way two completely separate distros based on the same baseline.
We’ll have to duplicate the efforts to keep them both up-to-date, in return, we’ll have cleaner environments.
First, let’s proceed to export into a tar file from PowerShell with the below command.
The first parameter is the installed distribution you want to export and the second parameter is a tar file, you can use your current directory, as I did here, or add a full path, it’s your choice.
> wsl --export Debian debian_20220609.tar
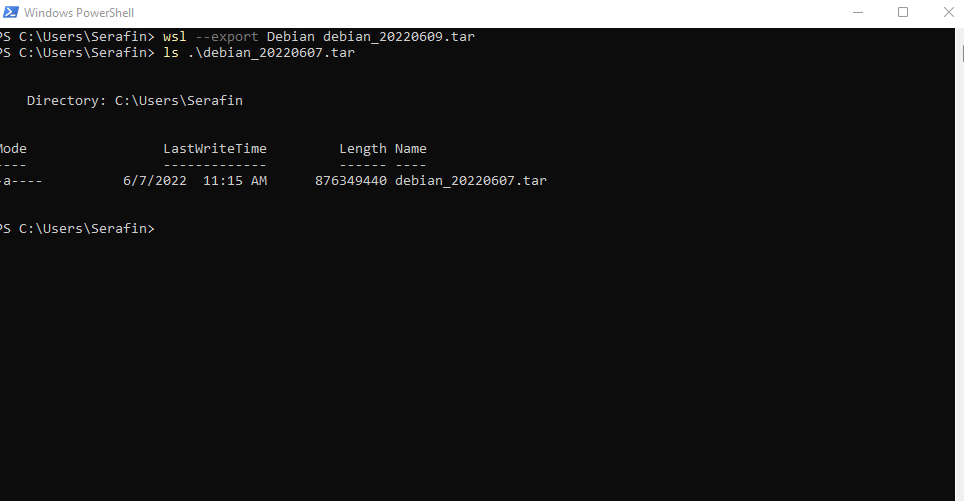
This tar file is the base to proceed with the import
> wsl --import DebianNodejs .\DebianNodejs .\debian_20220607.tar
The first parameter is the name we want to give to the new distro.
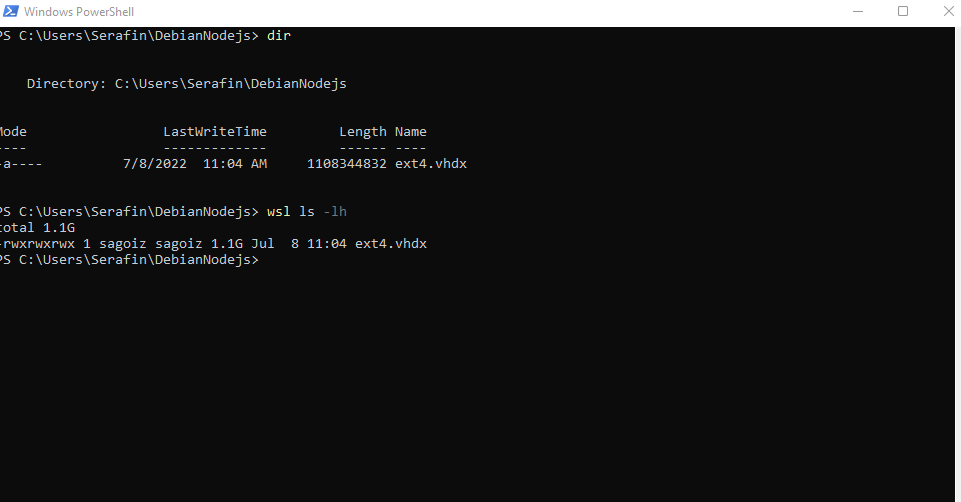
Second is the folder, full path can be given, at which the distro will be created, and it will look like the below:
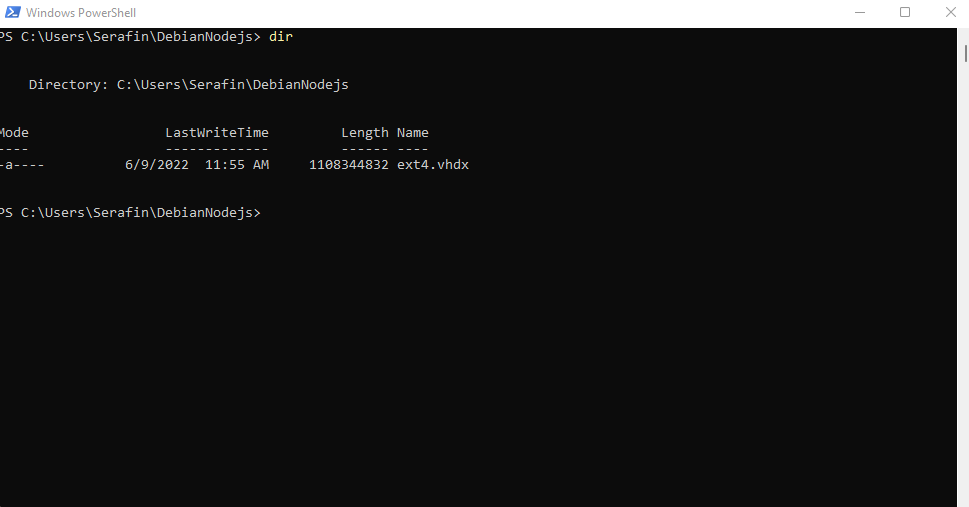
Now the newly imported distro is ready and we can log in with the same user as available at the distro we used for the export process.
A reminder that this imported distro is an image of the exported distro.
wsl -d DebianNodejs -u user
user@SAB-ThinkPadE14:/mnt/c/Users/Serafin/DebianNodejs$  cd ~
user@SAB-ThinkPadE14:~$  hostname
SAB-ThinkPadE14
At this point, I find confusing the fact that both distros have the same ‘hostname’ and it’s prone to mistakes.
Once you log into a distro, not easy to understand which one exactly you are in.
So, I modify the hostname to match the distro in use.
Usual Linux procedures apply.
$ sudo hostname DebianNodejs
[sudo] password for user:

$ sudo cat /etc/hosts
sudo: unable to resolve host DebianNodejs: Name or service not known
# This file was automatically generated by WSL. To stop automatic generation of this file, add the following entry to /etc/wsl.conf:
# [network]
# generateHosts = false
127.0.0.1 localhost
127.0.1.1 SAB-ThinkPadE14.localdomain SAB-ThinkPadE14

# The following lines are desirable for IPv6 capable hosts
::1 ip6-localhost ip6-loopback fe
00::0 ip6-localnet ff
00::0 ip6-mcastprefix ff
02::1 ip6-allnodes ff02::2 ip6-allrouters
The ‘/etc/hosts’ file must be modified, see example below.
It’s also very important to create if it does not exist the file ‘/etc/wsl.conf’
This is a very specific configuration file for WSL2, and it should contain the same hostname we want to use for the distro, like:
$ cat /etc/wsl.conf
[network]
hostname=DebianNodejs
generateHosts=false
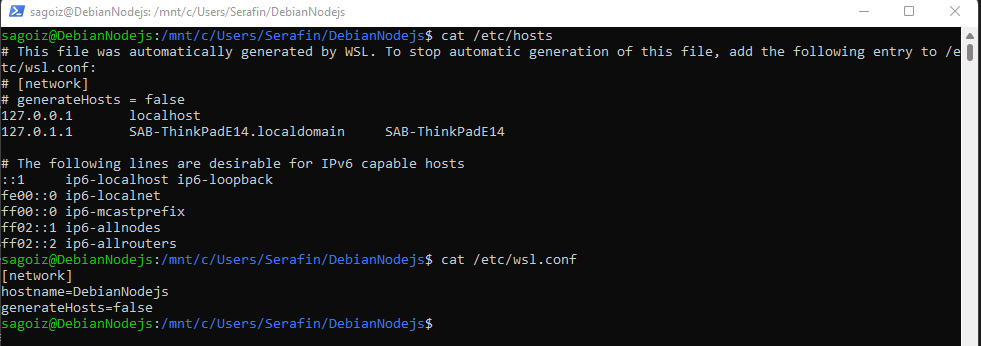
Log out and in again to see the results.
Be careful, the running distro may take around 10 seconds to really shutdown, you can check as below:

So, now we have two independent distributions, meaning we can keep them “clean” and install what we need at each of them according to our needs.
For example, installing NodeJS at one and keeping the other without it:
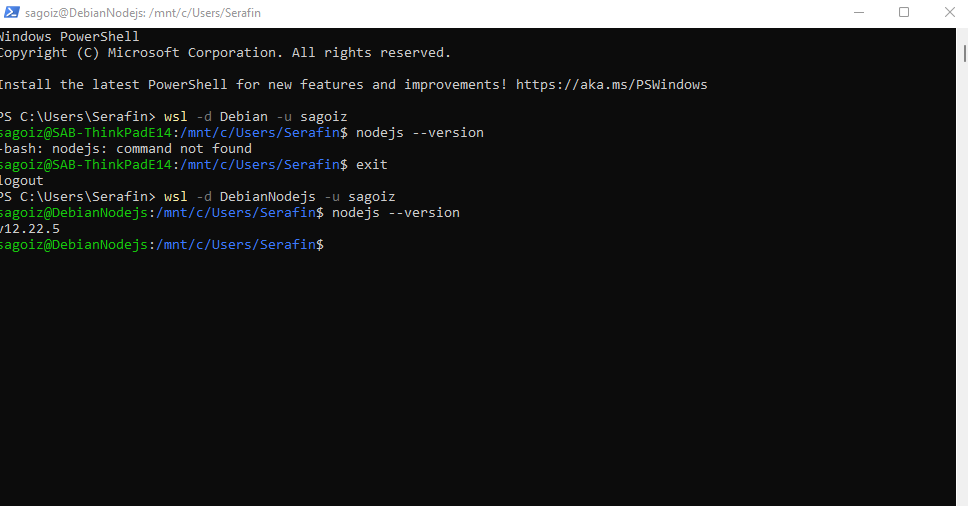
So, this is a way to keep distros specifically for a single purpose.
Be aware though, that this approach will consume a lot of disk space as each distribution might be around more than 1 Gigabyte.
